
 English
 España
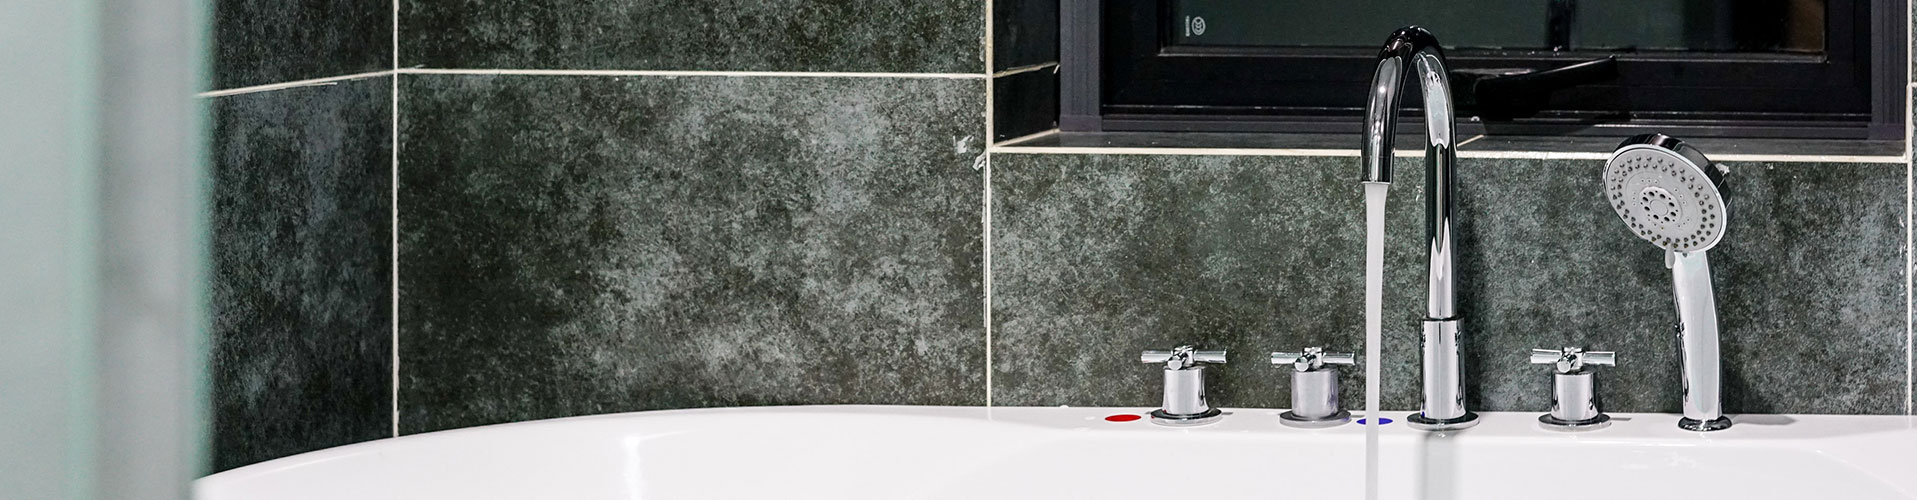
If your toilet overflows or your sink stops, it's time to take a plunge! About 90% of the time, only one plunger thrust is required to clear the blockage. However, in order to make messy work easy, it is important to have the right plunger and the right technology. It turns out that not all plungers are created equal; some are best for sinks and showers, and some are suitable for use in toilets. Once the best tool is determined, success is the form. Contrary to popular practice, repeated flushing while pumping frantically is used to release the blockage faster-instead, it breaks the seal of the plunger and breaks the suction. In order to keep the water flowing through your own pipeline, avoid those amateur mistakes, and learn to invest in these valuable skills like a professional.
Choose the perfect plunger
Start from the beginning: Although you may have a shelf full of plungers in your grocery or household goods store, the two most common styles are cup plungers and flanges. It is wise to store one of them and familiarize yourself with its advantages so that you can determine which is suitable for your small emergency.
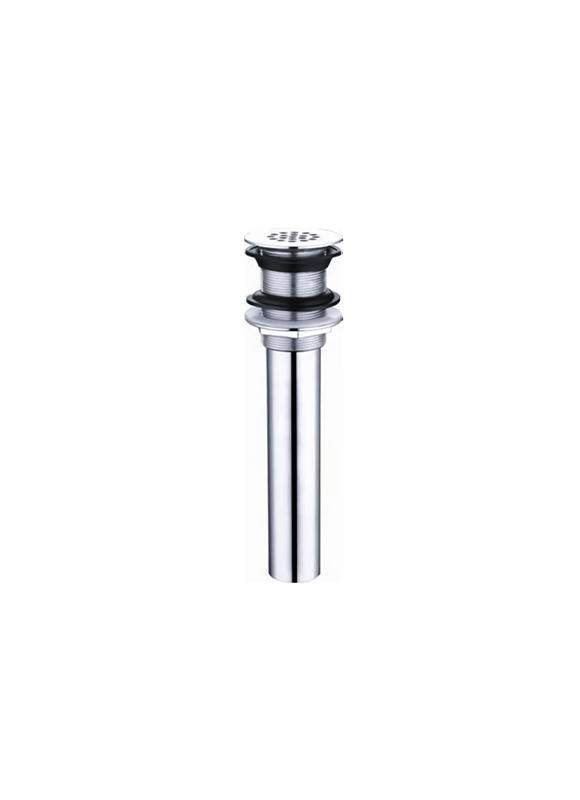
Cup: When you think of plungers, the image that appears most often is a simple wooden handle attached to a rubber cup. It is this cup named the "cup plunger" for the tool. This design is most suitable for flat drain pipes in sinks and bathtubs. Although it is suitable for sink, shower or bathtub blockage, the cup plunger cannot create enough airtight seal in the curve of the toilet drain pipe to generate enough suction.
Insert the sink, shower or bathtub correctly
When using a standard cup plunger, first cover the overflow drain (if any) with a wet towel. This will prevent air from escaping and reduce suction. When you are here, it is best to seal any nearby drains in the sink or bathtub to ensure better results. In order to further increase the suction power of the plunger, a small amount of petroleum jelly was lined on the edge of the cup to create a tighter seal.
Next, place the rubber cover firmly on the sink or shower drain, and completely submerge the bell in the standing water. The plunge can become messy, so if there is too much water, scoop the excess water into a nearby bucket to minimize cleanup. First gently press down on the handle-to force the air out. Then continue to insert a quick and deliberate thrust to direct the pressure to the drain, rather than lifting the plunger enough to break the seal. Continue this operation for about 20 seconds. When you pull off the plunger, the blockage should be cleared.


